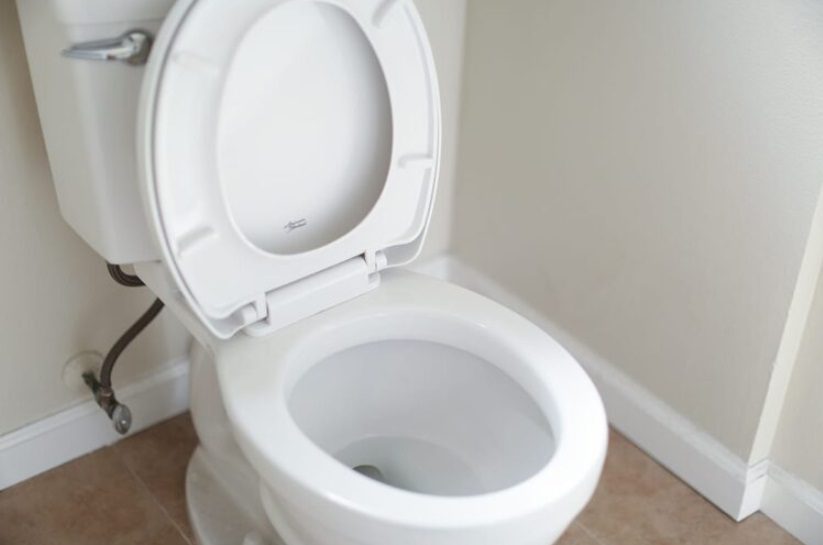
A running toilet is annoying and may cause increased water consumption, hence higher bills. Fortunately, with a few simple steps that any homeowner can take on his or her own, the most common Albuquerque toilet repair issues can be fixed without the need to call in a plumber. This detailed do-it-yourself guide from the folks at Day & Night Plumbing will take you through the process of identifying problems and how to fix them so that your toilet no longer fills and flushes continuously.
From a worn-out flapper, faulty float, or an ill-placed fill tube, this guide looks at all the possible causes of running the toilet. We will give step by step guide on how to fix and replace the most common toilet tank components in order to have the toilet functioning as it should. For a few tools and following our recommendations, you will be able to repair a toilet and avoid paying a plumber. Read on to become a professional in solving problems related to a running toilet!
Step 1: Thoroughly Inspecting the Flapper
The flapper is often the main cause of continuous water flow in a running toilet. This small rubber seal at the bottom of the tank lifts up when you flush the lever to release the water into the bowl. When the flapper becomes misaligned, warped, or blocked with mineral deposits, it may not create a watertight seal, allowing water to constantly trickle from the tank into the bowl.
Start your inspection by removing the tank lid and setting it aside. Locate the round rubber flapper seal at the base of the tank. Examine the flapper for any cracks, warping, or mineral buildup. Try readjusting the flapper to see if you can create a better seal against the flush valve opening.
If the flapper appears worn out or you can’t get a tight seal, it’s time to replace it. Turn off the water supply and flush to drain the tank. Pry off the old flapper then clean the area thoroughly. Purchase a replacement flapper made specifically for your toilet model. Follow the manufacturer’s instructions to install the new flapper. Make sure it creates a tight seal when closed.
Step 2: Adjusting the Flapper Chain
The chain that connects the flapper to the flush handle needs to be set at just the right length for the flapper to open fully, then close and seal completely after flushing. If the chain is too short, it will not lift the flapper high enough to flush properly. If it is too long, the chain can get tangled up and prevent the flapper from closing all the way.
To check your flapper chain, remove the tank lid and watch the chain when you flush the toilet. If the flapper doesn’t raise fully, the chain is too short. You’ll need to reposition the chain hook on a higher link of the handle lift arm. This gives it more slack. If the chain gets tangled under the flapper, it is too long. Move the hook down to a lower link. Adjust in small increments, testing with a flush each time until the chain moves smoothly without getting caught. Replace a badly corroded chain.
Step 3: Troubleshooting the Fill Valve and Float
The fill valve and connected float work together to regulate the water level in the tank after flushing. The float rises with the water line until it triggers the fill valve to shut off when full. Issues with either of these components can lead to overflowing tanks.
Remove the tank lid and flush the toilet, watching how the float behaves. If the float gets stuck or water passes the normal fill line before shutting off, you likely have an issue with the fill valve or float. Try bending the float arm down slightly to make it more sensitive. Ensure the float can move freely without obstruction.
Examine the fill valve for damage or wear and clean any debris. Turn the adjustment screw near the top of the valve to raise or lower the water shut-off point. If needed, replace the entire fill valve.
Step 4: Positioning the Fill Tube Properly
The fill tube is the curved piece of plastic attached to the fill valve that redirects excess water into the overflow tube and down into the toilet bowl. If the fill tube sinks too low in the tank, it can’t divert the extra water, leading to overflow issues.
Check that the fill tube sits above the normal water line in the tank. If not, carefully bend it upwards to maintain proper clearance. Make sure the tube is not obstructed. You may need to trim the tube with scissors if it is so long that it sinks too far. Adjust it for ideal positioning above the water line.
Conclusion
Even though running toilets can be quite irritating, a little do-it-yourself work is often enough to fix the issue without having to involve Day & Night Plumbing. If you can get the right examination and some changes on the flapper, the flapper chain, the fill valve, and the fill tube you will avoid a running toilet and the wastage of water.
This article will help you build the level of confidence you need to handle minor toilet repairs by yourself. Feel free to call us if you have any questions or if you require Albuquerque toilet repair service.

