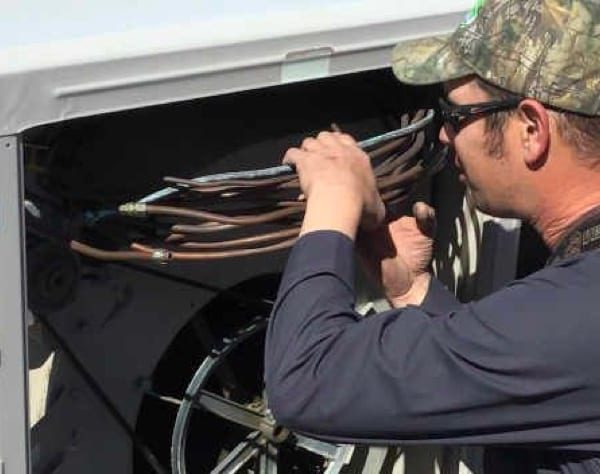
Doing a little maintenance on your swamp cooler can ensure it’s ready for the next warm months. The more often you get your air conditioner serviced, the longer it will last and the more money you’ll save on energy expenditures.
Step 1: Remove the side portions of the swamp cooler from all three sides. Rotating a little clip will usually release them.
Step 2: Inspect the pads to see if they are fragile. If they’re too old, they won’t be able to absorb enough water to keep your home cool. Remove the metal parts that keep the old pad in place before installing a new one.
Step 3:Make sure that the belt that drives the motor is in good condition. It must be smooth and devoid of flaws. If required, replace it with a new one.
Step 4: Check for corrosion on the swamp cooler’s body. The previous season’s water should have been drained, but if not, do it now. The best way to prevent additional corrosion is to use steel wool and a clear finish to remove any visible rust.
Step 5: Clear the bottom of the cooler of all trash. A water pump might be irreparably damaged if it becomes clogged with debris.
Step 6: Lubricate the motor with oil. In most cases, a small-cap may be flipped open to perform this work, but you should check the owner’s handbook to see if there are any other places where lubricant should be applied.
Fill the swamp cooler with water and reassemble it.
Among the many swamp cooler services at Day & Night Plumbing are a startup, repair, installation, shut-down, and general maintenance. If setting up your swamp cooler is too tricky for you, or if you prefer to have it done by a professional, please contact us at ******* to arrange an appointment.

