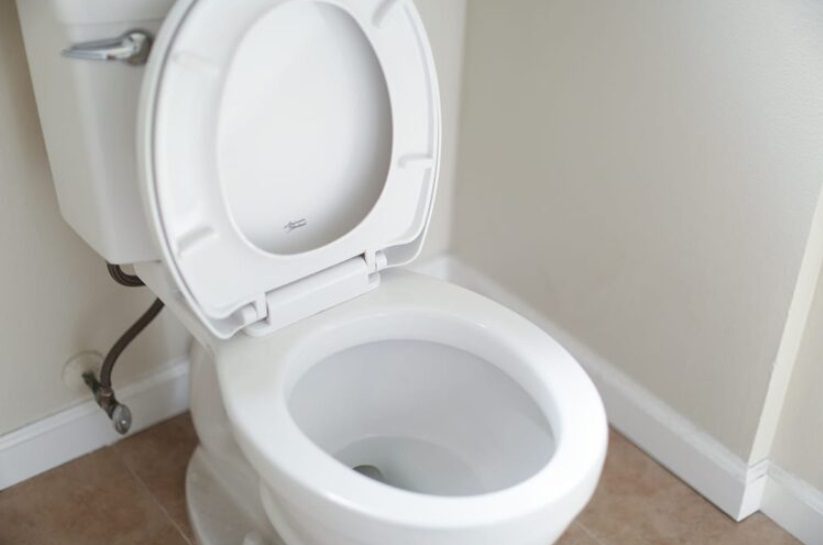
Running toilets can be a minor or major problem for your plumbing system. Firstly, the fill tube could be letting too much water into the tank and triggering an overflow, but it may also mean there are leaks from within the – a sure sign something needs fixing!
The good news is that it’s not something complicated that’s going to cost you an arm and a leg, and with a little basic knowledge, you can probably fix it yourself without costly tools and equipment. Basic Albuquerque toilet repair is not too hard.
Keep reading and we’ll show you how to fix a running toilet in four easy steps, and make sure to contact Day & Night Plumbing, Heating, and Cooling of Albuquerque, NM if things turn to custard or jello!
Step One: Check Your Flapper
When your toilet starts draining and refilling constantly, it’s a sign that the flapper is not working properly.
The plastic cup in which water empties out when you flush become submerged with each flush, then fills up again before releasing its contents into the bowl below. If this doesn’t happen correctly, air gaps may form between the valves located at the bottom of the tank (which would cause continuous flow).
Loose flappers are the most common cause of running toilets. Fortunately, you can often just take it out and clean it to make sure that nothing is blocked, then make sure it is repositioned tightly. If there’s damage, the only remedy really is to replace it.
Step Two: Move the Flapper Chain
It’s a good idea to check your toilet’s flapper chain before you flush. If it isn’t in working order, then water could be leaking from the tank.
The flapping action of this piece connects with the handle, lifting so that the water can flow. If the chain is not the right length, it stops the flapper from functioning properly which can cause leaks.
Fortunately, all you must do is watch what happens when you flush your toilet. If the chain is too short, it won’t raise the flapper enough. If it’s too long, it will get caught under the flapper. By moving the hook attached to the toilet handle up a few links, you can lengthen the chain. If the chain is too short or corroded, you will probably need to replace it.
Step Three: Check the Float
The float – also known as a ball or cup mechanism – is attached to your toilet’s fill valve.
The fill valve adds water, causing this component to live up to its namesake, every time you flush the toilet. When the fill valve no longer must add water, it doesn’t need to hold the float up. However, if for some reason the float is not operating correctly, the fill valve may add too much water. This will cause the overflow tube to repeatedly drain the excess water.
You’ll want to check inside the tank for this, and if necessary, adjust your float. You can do that by finding the adjustment screw on top connected with the valve arm. Take some pliers with you so that when turning clockwise, it raises the float up or counter-clockwise will lower it.
Step Four: Adjust the Fill Tube
The fill tube prevents your toilet tank from overflowing by moving water into the bowl. The little curved plastic tube may be small, but it has a significant role. It doesn’t matter how full your toilet tank is, the fill tube needs to remain above the water. If it happens to fall below this level, this may cause your toilet to continue running. It’s easy to adjust the fill tube; just bend it so it sticks up above the water. If the fill tube is too long however, you may have to manually trim it down with scissors.
The perfect toilet is like a well-oiled machine. It’s not uncommon for them to break on occasion, so you’ll want someone who knows what they’re doing if any parts are damaged and need replacing or fixing. A running toilet can lead to sky-high water bills that will quickly add up without addressing this issue right away.
Luckily, we have experts here at Day & Night Plumbing who offer fast repairs, sound advice and a helping hand if DIY isn’t practical for you. Contact us today on 505-9745-797 or leave us a message online by completing our easy contact form.

